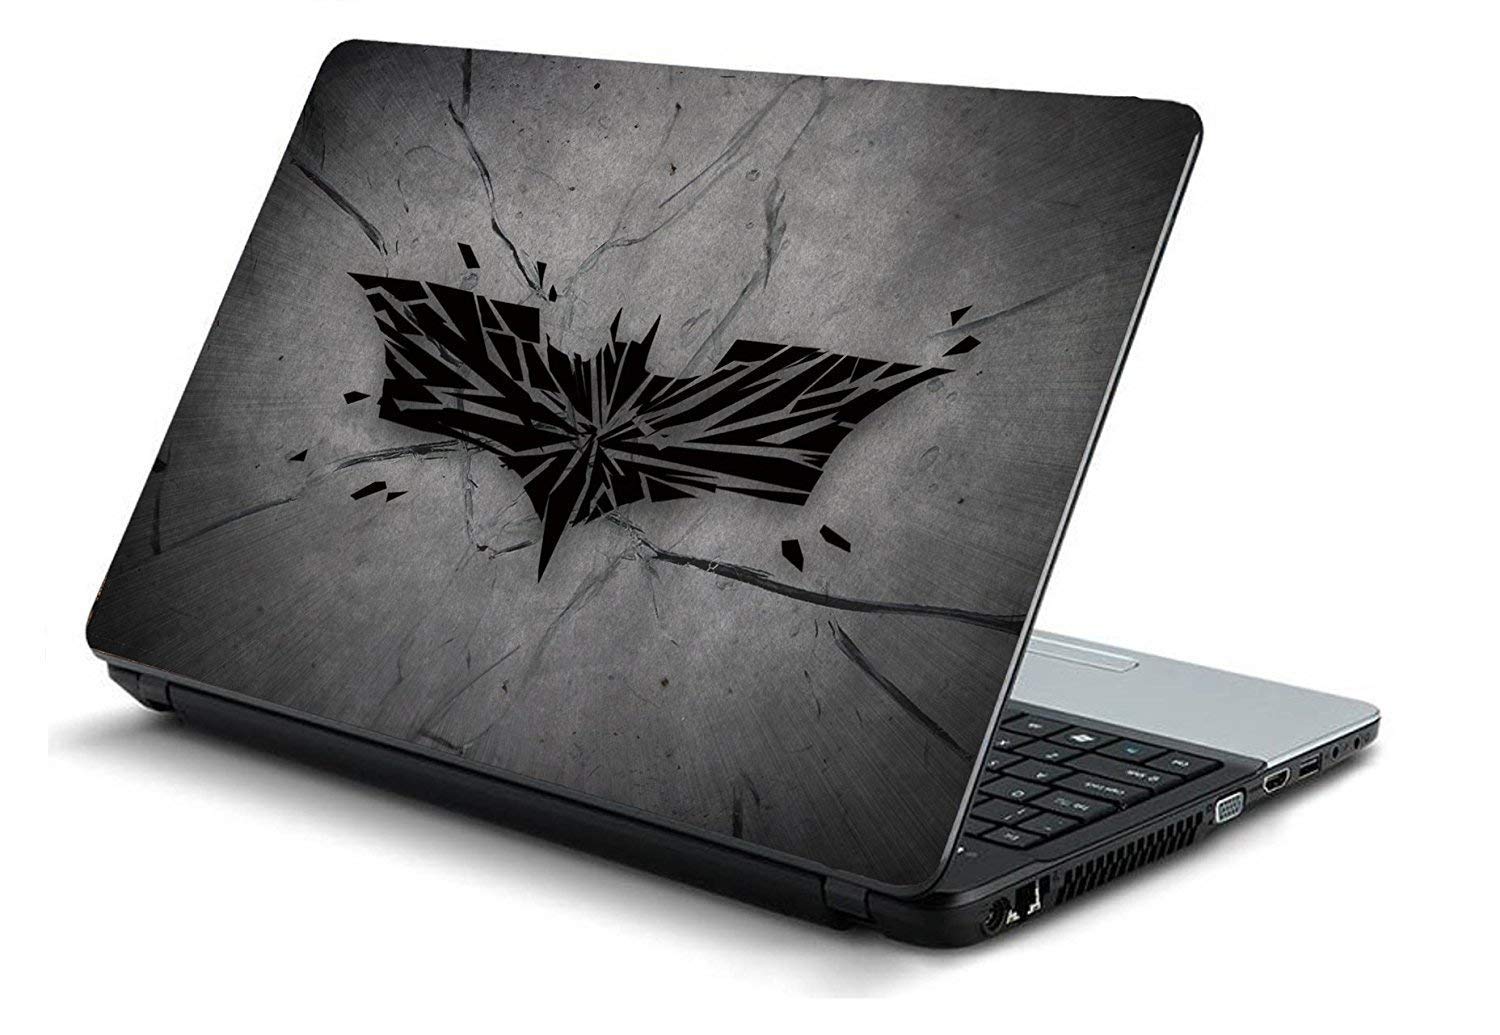
Laptop skins have gained immense popularity for their ability to personalize devices while also providing protection. While there are plenty of pre-made designs available, creating your own custom laptop skin can be a fun, creative, and rewarding project. Whether you want to showcase your personality, brand your laptop for business, or simply give your tech an upgrade, a DIY laptop skin can make it stand out from the crowd. In this article, we’ll explore some exciting ideas for designing your own laptop skin and how to make it a reality. Plus, if you’re looking for professional services, we’ll also mention where you can get Printed Online Laptop Skins in Pakistan.
Why Create a Custom Laptop Skin?
Before diving into DIY ideas, it’s worth understanding why creating your own custom laptop skin is a great idea:
- Personalization: You can add your own flair and make your laptop truly one-of-a-kind.
- Protection: A laptop skin protects the exterior from scratches and wear and tear.
- Affordability: DIY laptop skins are much cheaper than buying high-end pre-made skins.
- Eco-Friendly: Many pre-made skins are mass-produced and might not be environmentally friendly. By creating your own, you have more control over the materials used.
- Gift Idea: Custom laptop skins can be a fantastic and thoughtful gift for friends or family.
Now, let’s dive into some fantastic ideas and methods for creating your own laptop skin!
1. Start with a Concept: Choosing Your Design Theme
The first step to creating your DIY laptop skin is deciding on a design theme. Your design should reflect your style and personality. Here are some ideas to get started:
- Minimalist Designs: Simple patterns, geometric shapes, or monochrome themes.
- Nature-inspired: Incorporate images of plants, landscapes, or animals.
- Pop Culture References: Use your favorite characters, movies, or quotes.
- Personal Photography: A picture of your pet, family, or favorite place.
- Abstract Art: Get creative with abstract patterns and color splashes.
When you’ve chosen your concept, sketch it out or find high-resolution images to work with.
2. Materials You Will Need for Your DIY Laptop Skin
To create a laptop skin, you’ll need a few basic materials. Some of these items may already be lying around your home:
- Vinyl Paper: This is the most important material. Choose a good-quality adhesive vinyl that will stick well to your laptop.
- Clear Laminate Film: For added protection, laminate your design once it’s printed.
- Crafting Knife or Scissors: You’ll need sharp tools to cut out your design.
- Ruler and Measuring Tape: To ensure your design is the correct size for your laptop.
- Printer: If you are printing your design yourself, a high-quality printer is essential.
If you’re not confident in printing at home, there are services that offer Printed Online Laptop Skins in Pakistan, allowing you to upload your design and have it professionally printed and delivered.
3. Design Software: Bringing Your Idea to Life
For those who want to go the digital route, you’ll need software to design your laptop skin. Here are some great tools, both free and paid:
- Adobe Photoshop or Illustrator: Industry-standard tools for professional-quality designs.
- Canva: A free, user-friendly online tool that offers plenty of design templates.
- GIMP: A free alternative to Photoshop with a lot of features.
- Inkscape: Another free tool, great for vector designs and illustrations.
If you’re working with images or text, make sure they are high-resolution, especially if you’re going to have the design printed professionally.
4. DIY Method 1: Print and Apply at Home
Once you have your design ready, the next step is printing. Here’s a step-by-step guide to creating your own laptop skin at home:
Step 1: Measure Your Laptop
Measure the dimensions of your laptop cover. Add a few millimeters to your measurements to ensure the skin covers the edges.
Step 2: Print Your Design
Using adhesive vinyl paper, print your design. Be sure to use a high-resolution setting on your printer for the best results.
Step 3: Cut Out the Skin
Carefully cut out your design using a ruler and craft knife. Make sure the cuts are clean and precise.
Step 4: Apply the Skin
Peel off the backing from the vinyl paper and carefully apply it to your laptop, smoothing out any air bubbles as you go. You can use a credit card or squeegee to help with this.
Step 5: Seal with Laminate
For added durability, apply a clear laminate sheet over the top of your design.
5. DIY Method 2: Paint Your Own Design
If you’re feeling particularly artistic, you can bypass digital designs altogether and hand-paint your laptop skin. Here’s how:
Step 1: Choose the Right Paint
You’ll need a type of paint that will adhere to vinyl or directly to your laptop’s surface. Acrylic or spray paints are good options.
Step 2: Sketch Your Design
Use a pencil to lightly sketch your design onto the vinyl or laptop surface. This will guide your painting.
Step 3: Apply Paint
Paint your design using thin, even coats to avoid dripping. If you’re using spray paint, hold the can at least six inches from the surface.
Step 4: Seal Your Design
Once the paint is completely dry, apply a clear sealant to protect your design from scratches and wear.
6. Where to Get Professionally Printed Laptop Skins
For those who want a professional finish but lack the tools or confidence to do it themselves, many online services offer custom laptop skin printing. If you are in Pakistan, look for companies that provide Printed Online Laptop Skins in Pakistan. These services allow you to upload your custom design and have it professionally printed and delivered to your doorstep. Some benefits of using professional services include:
- High-Quality Printing: Crisp and vibrant colors that you may not achieve with a home printer.
- Durable Materials: Professional skins are often made from high-quality, long-lasting materials.
- Customization Options: These services allow you to choose between matte or glossy finishes, textured skins, or even eco-friendly options.
7. Design Tips: How to Make Your Laptop Skin Stand Out
If you’re looking for ways to make your DIY laptop skin really pop, here are some design tips:
- Keep It Simple: Sometimes, less is more. A simple design can have a big impact.
- Use Bold Colors: Bright, contrasting colors will make your laptop stand out.
- Incorporate Text: Add an inspirational quote or your name for a personal touch.
- Layer Your Design: If you’re hand-painting, try layering different patterns or textures.
- Avoid Overcrowding: Leave some blank space to create balance in your design.
8. Caring for Your Laptop Skin
After applying your custom laptop skin, you’ll want to take steps to ensure it lasts:
- Avoid Excessive Scratching: While the skin provides protection, it’s still important to avoid sharp objects that could damage the surface.
- Clean Gently: Use a damp cloth to clean your laptop skin. Avoid harsh chemicals that could wear away the design.
- Reapply as Needed: If your skin starts to peel or wear out, you can always create a new one!
9. Final Thoughts: Express Yourself with a Custom Laptop Skin
Creating your own custom laptop skin is a fun, creative, and practical way to personalize your tech. Whether you choose to design and print your skin at home or use professional services like Printed Online Laptop Skins in Pakistan, the result is a personalized laptop that reflects your unique style. With a little bit of creativity and the right materials, you can transform your laptop into a one-of-a-kind masterpiece that will turn heads wherever you go.
So, gather your tools, unleash your inner artist, and start designing your custom laptop skin today!


